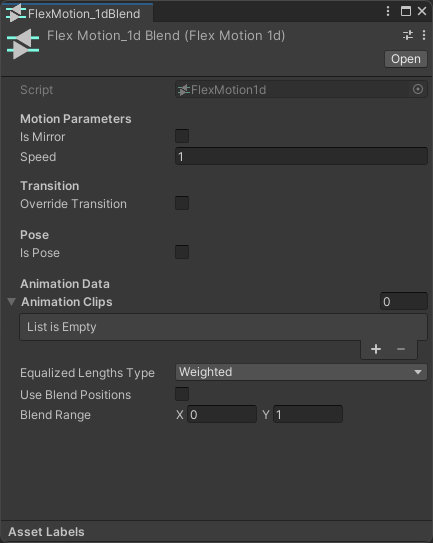
A FlexMotion container that allows animation blending via the modification of the FlexMotionLayer's blend weights.
You can manually achieve this using the dedicated method called SetBlendWeight.
But it is much more convenient to use the provided weight computation methods namely Compute1dBlendWeight and ComputeNormalized1dBlendWeight. Both takes a single float parameter representing the desired blend value.
The normalized version is actually the simplest as it assumes that the animation clips are equally spaced along a virtual blending axis.
If we imagine having 5 animations, here is a visual representation of how the method works:

For example, if you set a blend value of 0.375f (the midpoint between the clip 2 and 3), the resulting weights would be Clip 1: 0f, Clip 2: 0.5f, Clip 3: 0.5f, Clip 4: 0f, Clip 5: 0f.
Here is a simple script using that method:
using SV.FlexMotion;
using UnityEngine;

public class Use1dBlendAsset : MonoBehaviour
{
    [SerializeField]
    private FlexMotionAnimator animator;

    [SerializeField]
    private FlexMotion flexMotion;

    private void Start()
    {
        animator.Play(flexMotion).ComputeNormalized1dBlendWeight(0.375f);
    }
}
That method can make use a FlexMotionLayer setting called BlendRange which can be set through the FlexMotion container itself. It's a Vector2 that defines a minimum and a maximum blend range resulting in scaled blend positions.
Here is how the previous graph looks with a blend range value set to (0.25f, 075f):

When using the non-normalized version of the method, the blend positions must be set. It's an ordered set of floats ranging from 0.0 to 1.0. It should have as many values as there is clips in the FlexMotion asset.
This can be done via the FlexMotionLayer's SetBlendPositions method which take an array.
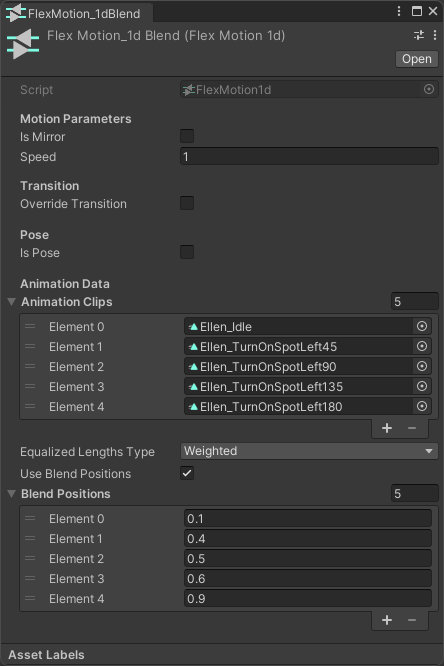
Or more conveniently through the FlexMotion container by enabling the "use blend positions" and setting the values like so:

This specific set of clips and blend positions would result in the graph looking like this:

📝 Notice
The Compute1dBlendWeight method fallbacks to the normalized one if the blend position hasn't been set.
So don't worry too much if you are not sure which one to use.
The last important setting is the Equalized Lengths Type setting. It's available on all 3 blending variants of the FlexMotion container. It allows the FlexMotionLayer to modify the speed of the clips (and thus their length) enabling smoother blending between clips with widely different lengths.
For example, here is how 50% blending between a long idle animation and a faster walk cycle might look like without any length equalizing applied:
As you can see this is far from ideal and the Equalized Lengths Type setting gives us some options:
- Weighted: The playback speed of the clips is recomputed on every update based on the clip weights. It makes the blended motion look more consistent without affecting the perceived speed.
- Averaged: A cheaper alternative that compute the clips speed using their average length. This method only needs to be done once but there is a downside: The speed will never be equal to the clip original speed. Thus, short clips might be going way faster and longer clips, way slower. The Averaged Lengths Excluded Index setting helps mitigate this issue by excluding from the computation a clip that deviate significantly in length.
- None: Don't apply any equalizing on the clip lengths.
For comparison, here is how the same blended motion looks using the weighted method: